Thursday, January 21, 2016

Vintage Camper Remodel, Part 3: Structural renovation

Well, it's been a year and DH has the trailer up and functional. We've even taken it out a few times to test how the repairs are working. We love this trailer! It's so unique. Going down the highway it looks like some hick-mobile that shouldn't be on the road. There's not much we're planning on doing to the exterior, so it's always going to look like a hick-mobile. But we love the ability to have it custom built for our family and gear. I love the thought of having everything stored in the trailer with only a few essentials to add in order to take a trip. With less systems, there are less parts to break. With insulation and doors it's easier to keep little ones warm at night. And DH and I get to sleep on a regular queen mattress at night. Talk about luxury! I'd rather sleep in my own bed than a hotel any time.

I have to stress what a huge project this trailer has been. If we didn't both believe in the vision of what this will be, it would not have been worth the effort. May and June 2015 DH spent 10-20 hours per week on the project to get the walls and insulation in. So, unless you have oodles of free time, maybe a trailer reno isn't a great idea. It's also a more expensive project, even with DIY, because of the cost of construction materials.

In my vision, this trailer will function for overnight camp outs with the whole family, road trips, and could even serve as a short term home for an older couple. I want it to look beautiful inside, which I can imagine difficult with kids running in and out with mud and dirt. Hopefully I can keep it beautiful and functional too.

Here's a list of all of the structural builds we've already done:
  • Roof eternabond tape with cool seal elastomeric coating (the coating did not stick to eternabond, which was unexpected), new vents for openings in front and rear.
  • Sanded floor, patched holes and replaced large back section, applied polyurethane coat, used epoxy to fill uneven spots. This floor will eventually be a sub-floor for a nicer flooring.
  • Replaced old insulation with R9 foam board in ceiling, R5 foam board in walls.
  • Fixed glass window mechanisms so they would open, repaired body holes, rebuilt frames supporting skin in front and rear, rebuilt tail gate.
  • Attached lath to aluminum studs on ceiling and walls. Painted lath with primer both sides for durability.
  • Ran electrical wiring for generator 120V AC/microwave/outlet; battery powered 12V outlets and LED lighting, ventilation fantastic fan, extra 12V accessories. Ran new exterior trailer wiring.
  • Attached 1/4 inch plywood walls with primer on both sides to lath, thin plywood ceiling, built plywood shield for front window
  • Constructed bunk shelves measuring 9 feet x 24 inches
  • Added exterior LED lights, replaced old axles with new axles, rims, tires, brakes, and tongue jack
  • Have made numerous rivet repairs for exterior


Before: interior gutted and ready for new everything


Trailer roof with new Cool Seal coating

Exterior before most of construction
Exterior after majority of structural build is complete on a maiden voyage


Window covering for front to protect from rocks
New jack and sway control hitch

New axles, rims, and tires
foam insulation in walls

ceiling and walls finished with plywood
folding couch/bed donated from another motor home
 And here are some more interior photos (with rotation issues)

front interior, plan to leave open

front interior showing doorway and AC unit

Middle interior. This area will be the kitchen eventually, folding table serving that function now.

Built in shelves. These 9 foot shelves can double as bunks for kids.

Interior from the back of the trailer.

 With this much structure complete, we can already use the trailer for camping. It fits lots of gear and gets us out of the weather. There's still a lot to finish to take this from basic box on wheels to hotel in the mountains. I am in charge of finishing surfaces and decorating--which means I have a lot to figure out!
Thanks for reading!

Saturday, April 18, 2015

Candied Walnut Spinach Salad


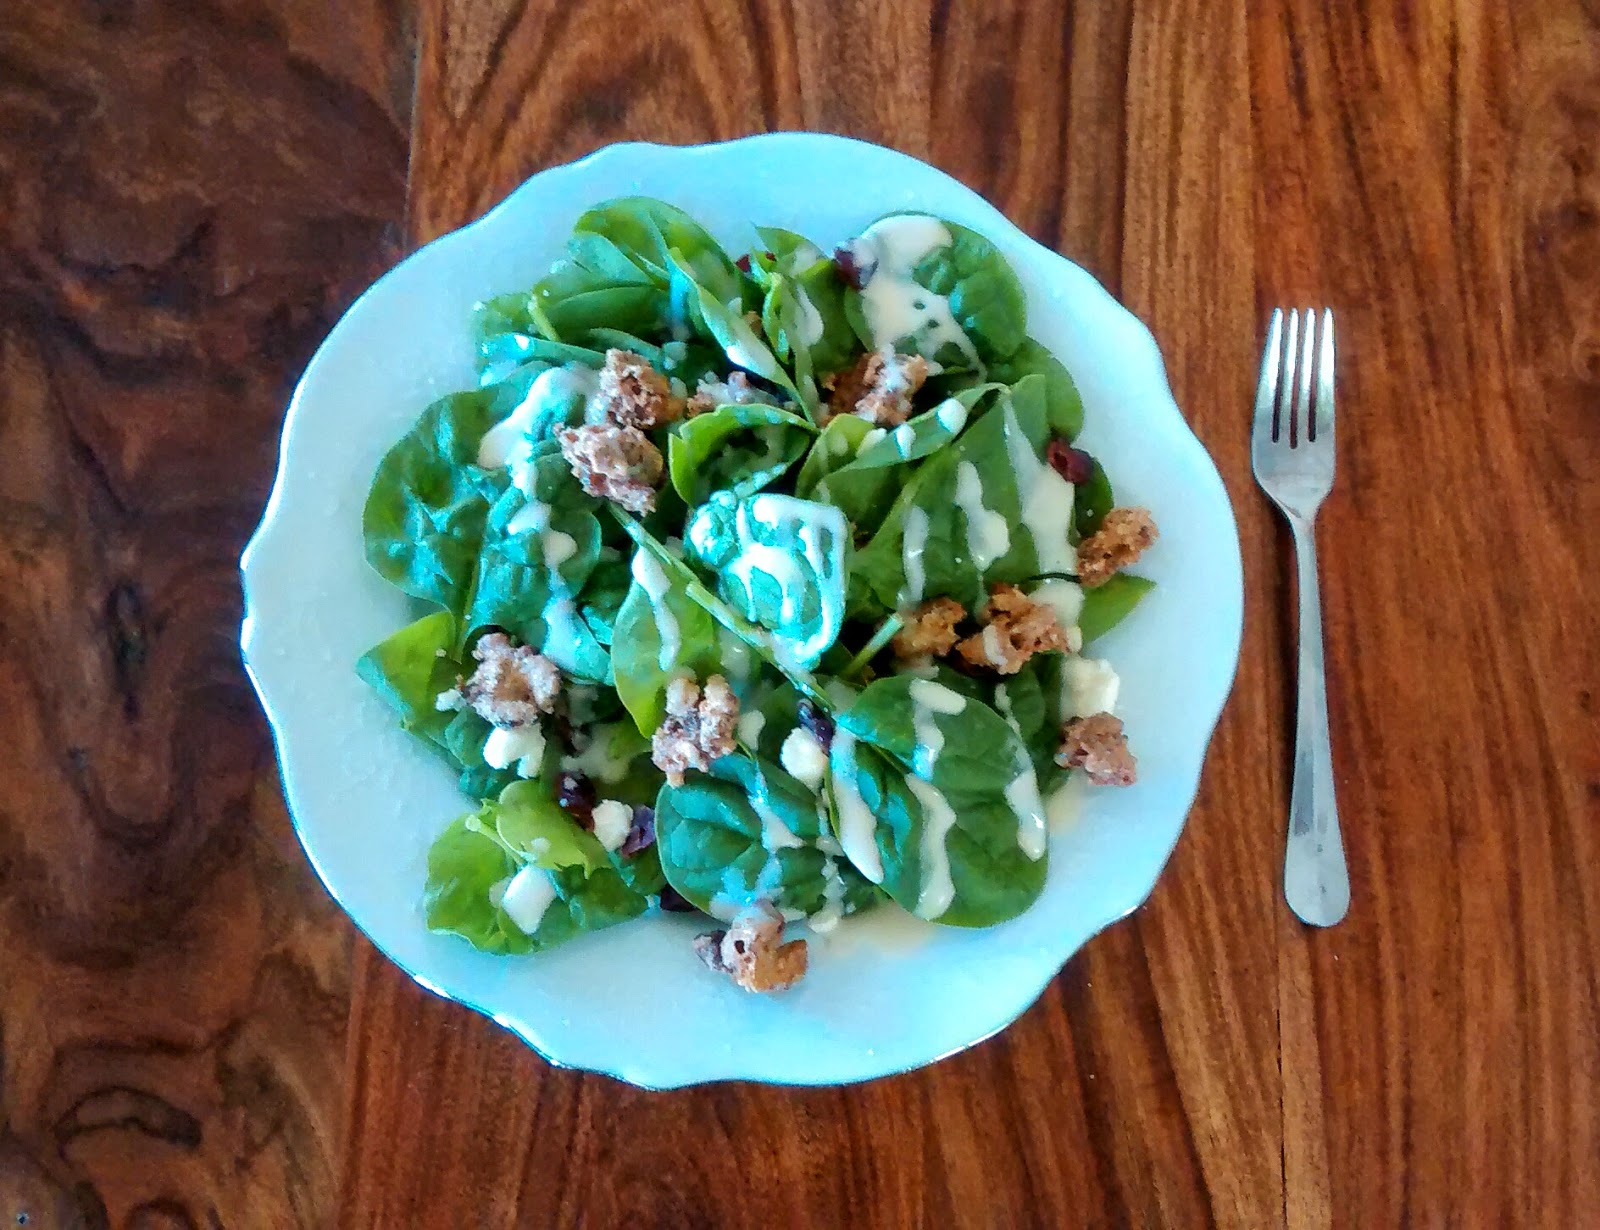
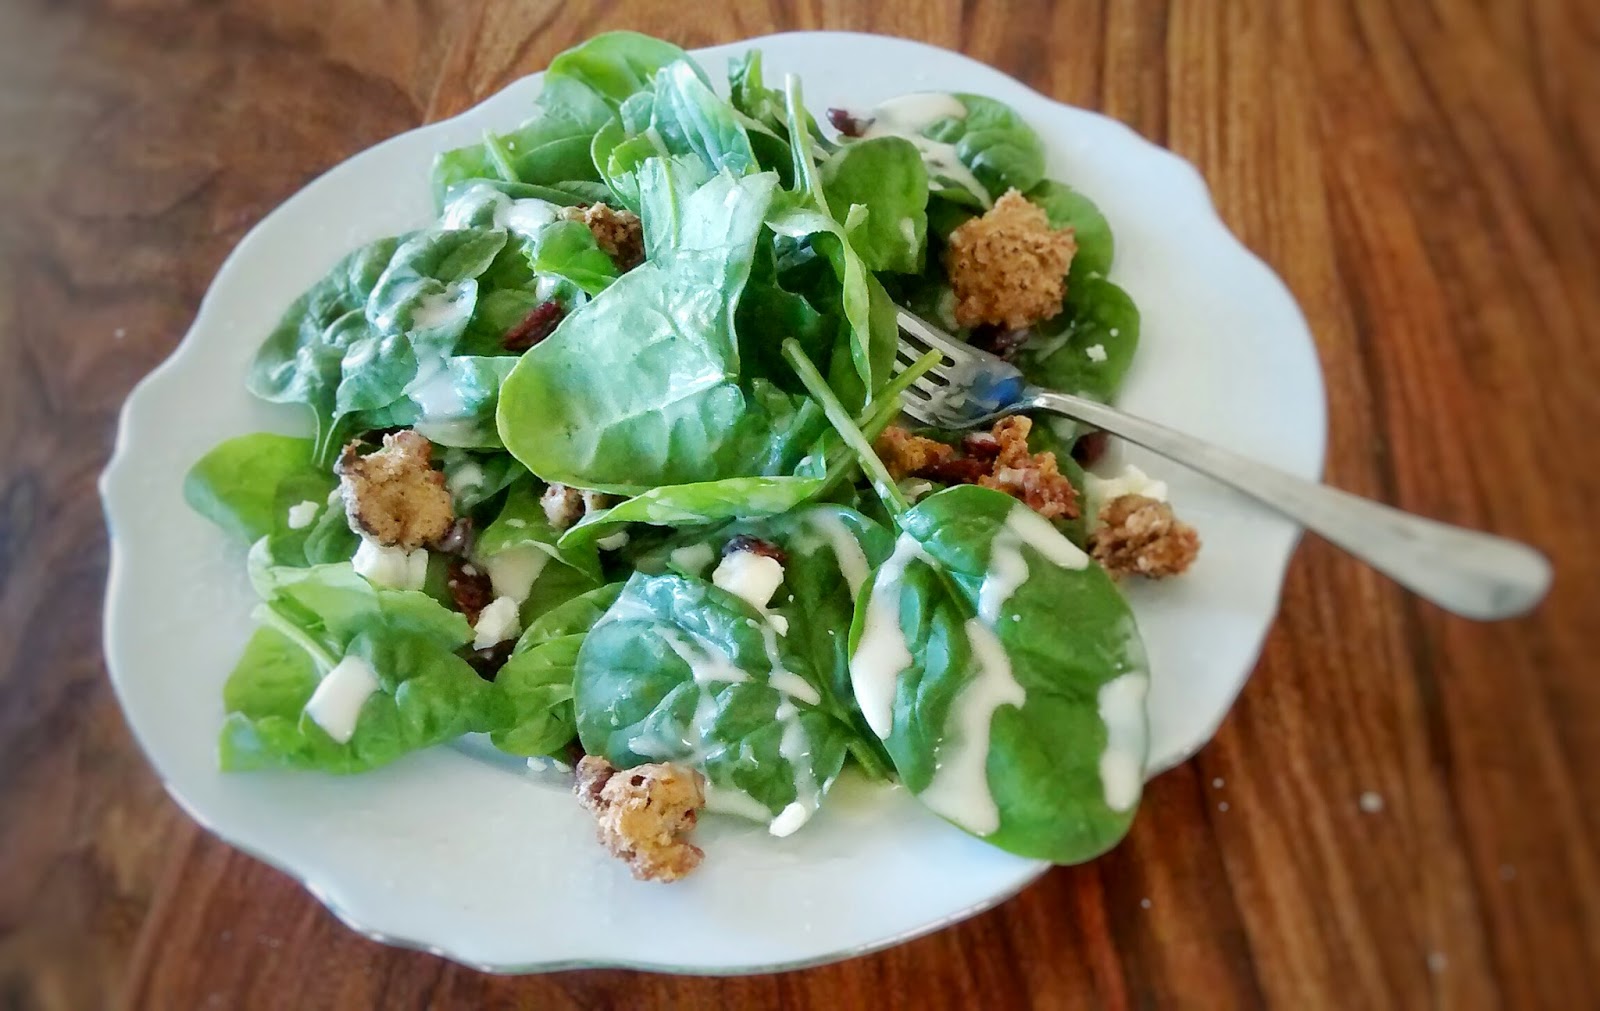
I wanted to share this yummy salad with you. My Grandma gives me walnuts from her own trees and this is a great way to eat them. The salad is versatile, basically a sweet dressing and your favorite salad ingredients. You could add strawberries and poppy seeds, lettuce and red onion, whatever you like. I made it first with lettuce and apple slices, then with spinach and craisins. 

You can try candied nuts besides walnuts... like pecans and almonds. Once you've made the nuts and dressing, you can whip up the delicious salad in no time!


Candied Walnut Spinach Salad


Dressing
Ingredients:
1/2 cup mayonnaise
1/3 cup pure maple syrup
1/4 cup white wine vinegar
1 teaspoon white sugar
1/2 cup vegetable oil
salt and pepper to taste
Directions:
1.            In the container of a blender, combine the mayonnaise, maple syrup, vinegar, and sugar. Cover and blend on low speed. Gradually pour in the vegetable oil while mixing until fully incorporated. Taste and season accordingly with salt and pepper. Set aside.
        

Candied walnuts
Ingredients:
1/2 cup granulated sugar
1/4 pound walnut halves
1/4 teaspoon vanilla extract
1/2 teaspoon ground cinnamon
1 tablespoon milk
1 egg white
Directions:
1.            Preheat oven to 350 degrees F.
2.            In a bowl, toss sugar with remaining ingredients and mix well.
3.            Pour mixture on to a cookie sheet, spread evenly, and bake for 20 minutes.
4.            Remove from oven and mix. Allow walnuts to cool before serving.

       
Salad
3 heads butter lettuce or spinach - rinsed, and torn
1/2 cup dried cherries or craisins
2 Granny Smith apples, cored and cut
into matchsticks
4 ounces goat or feta cheese, crumbled
3 ounces chopped candied walnuts
Directions:
1.            In a large serving bowl, combine the lettuce, cherries, apples, goat cheese and candied pecans. Toss with just enough of the dressing to coat, then serve with the remaining dressing on the side.

Enjoy!


Wednesday, December 31, 2014

Tutorial: Miracle blanket wrap for baby WITHOUT the Miracle Blanket and NO SEWING

A friend of mine showed me her baby's miracle blanket while I was pregnant. She impressed me with stories of laying baby down and having him go to sleep on his own.

I planned on making my own using a pattern I found at Put Up Your Dukes while I was pregnant, but the fatigue was overpowering...

I thought I'd sew one after baby was born. You know, measure using his exact dimensions and get a perfect fit. But I never made it to the fabric store with my newborn...

The concept that makes Miracle Blanket unique is the extra flaps for securing baby's arm so he can't squirm out of the swaddle. Then when he's asleep and has a dream about kickboxing, he doesn't jerk himself awake. It really helps with teaching baby to sleep longer at night as well as keeping those cute chubby appendages inside the warm blankets.

So, I just started swaddling baby Miracle-style with blankets I already had. Ha. That didn't cost me anything.

Here's my step by step tutorial

My 3-month-old ready to be swaddled

Step 1: Get baby and two blankets

One blanket will wrap baby's arms, the other will go around all of baby to keep him warm. I put the second blanket slightly to the side so that when it wraps around, the two ends are underneath.
2 baby blankets for swaddling

Step 2: Position baby on blankets

Place baby so that second blanket lines up with tops of baby's shoulders.

Step 3: Wrap first arm

Pull blanket across arm to be swaddled and tuck it behind baby's back. Try to spread it flat so baby doesn't have to lay on a pile of wrinkles.


Here is baby with blanket tucked behind. Notice while blanket is snug enough to hold baby's arm, it is not tight. I don't want to force baby's arms behind his back or make his position uncomfortable.

Step 4: wrap second arm

Here comes blanket around second arm and behind baby's back.


Sorry for my amateur pictures; I haven't won any awards for photography. But baby could probably win an award for cuteness.

Step 5: Wrap outer blanket around baby

This one keeps his body and legs warm.


All done!

I can put baby to bed while he's still awake and if he's tired he'll fall asleep on his own. Amazing!

All wrapped up!
Now you can try swaddling your baby Miracle-blanket style and see if it works on your baby.