Showing posts with label aluminum camper. Show all posts

Thursday, January 21, 2016

Vintage Camper Remodel, Part 3: Structural renovation

Well, it's been a year and DH has the trailer up and functional. We've even taken it out a few times to test how the repairs are working. We love this trailer! It's so unique. Going down the highway it looks like some hick-mobile that shouldn't be on the road. There's not much we're planning on doing to the exterior, so it's always going to look like a hick-mobile. But we love the ability to have it custom built for our family and gear. I love the thought of having everything stored in the trailer with only a few essentials to add in order to take a trip. With less systems, there are less parts to break. With insulation and doors it's easier to keep little ones warm at night. And DH and I get to sleep on a regular queen mattress at night. Talk about luxury! I'd rather sleep in my own bed than a hotel any time.

I have to stress what a huge project this trailer has been. If we didn't both believe in the vision of what this will be, it would not have been worth the effort. May and June 2015 DH spent 10-20 hours per week on the project to get the walls and insulation in. So, unless you have oodles of free time, maybe a trailer reno isn't a great idea. It's also a more expensive project, even with DIY, because of the cost of construction materials.

In my vision, this trailer will function for overnight camp outs with the whole family, road trips, and could even serve as a short term home for an older couple. I want it to look beautiful inside, which I can imagine difficult with kids running in and out with mud and dirt. Hopefully I can keep it beautiful and functional too.

Here's a list of all of the structural builds we've already done:
  • Roof eternabond tape with cool seal elastomeric coating (the coating did not stick to eternabond, which was unexpected), new vents for openings in front and rear.
  • Sanded floor, patched holes and replaced large back section, applied polyurethane coat, used epoxy to fill uneven spots. This floor will eventually be a sub-floor for a nicer flooring.
  • Replaced old insulation with R9 foam board in ceiling, R5 foam board in walls.
  • Fixed glass window mechanisms so they would open, repaired body holes, rebuilt frames supporting skin in front and rear, rebuilt tail gate.
  • Attached lath to aluminum studs on ceiling and walls. Painted lath with primer both sides for durability.
  • Ran electrical wiring for generator 120V AC/microwave/outlet; battery powered 12V outlets and LED lighting, ventilation fantastic fan, extra 12V accessories. Ran new exterior trailer wiring.
  • Attached 1/4 inch plywood walls with primer on both sides to lath, thin plywood ceiling, built plywood shield for front window
  • Constructed bunk shelves measuring 9 feet x 24 inches
  • Added exterior LED lights, replaced old axles with new axles, rims, tires, brakes, and tongue jack
  • Have made numerous rivet repairs for exterior


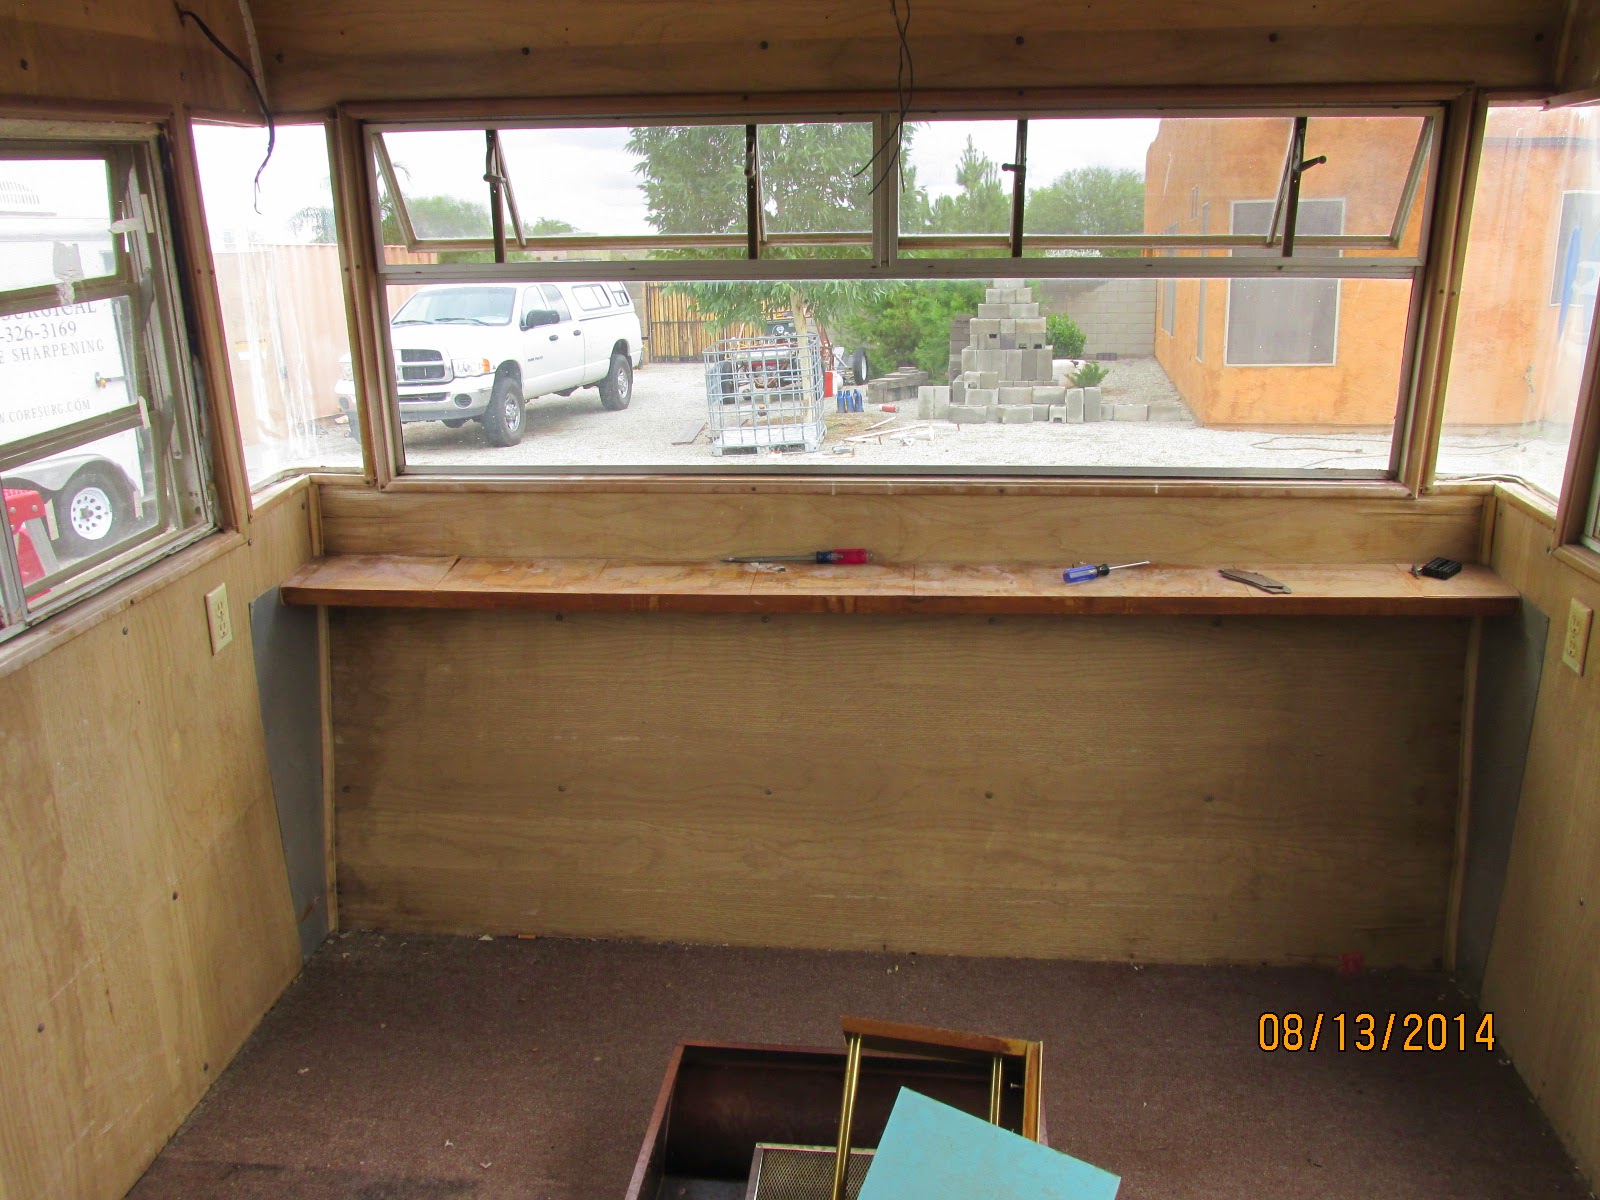
Before: interior gutted and ready for new everything


Trailer roof with new Cool Seal coating

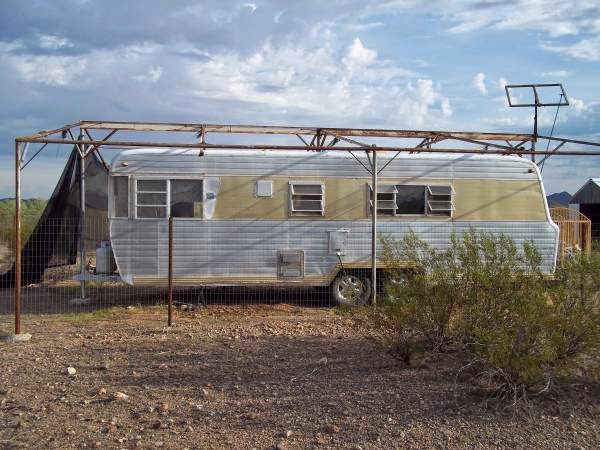
Exterior before most of construction
Exterior after majority of structural build is complete on a maiden voyage


Window covering for front to protect from rocks
New jack and sway control hitch

New axles, rims, and tires
foam insulation in walls

ceiling and walls finished with plywood
folding couch/bed donated from another motor home
 And here are some more interior photos (with rotation issues)

front interior, plan to leave open

front interior showing doorway and AC unit

Middle interior. This area will be the kitchen eventually, folding table serving that function now.

Built in shelves. These 9 foot shelves can double as bunks for kids.

Interior from the back of the trailer.

 With this much structure complete, we can already use the trailer for camping. It fits lots of gear and gets us out of the weather. There's still a lot to finish to take this from basic box on wheels to hotel in the mountains. I am in charge of finishing surfaces and decorating--which means I have a lot to figure out!
Thanks for reading!

Friday, September 05, 2014

Vintage Camper Remodel, Part 1: Demolition

After borrowing a friend's camper and vowing I'd never bother with an RV, DH found this vintage camper for sale in the classifieds for a few hundred bucks. Its a Boles Aero aluminum camper, built airplane-style with aluminum skeleton and riveted aluminum siding. "What do you think?" He asked.


We bought it.


Ahhh, imagination...


The inside looked like this.


Maybe we should have been a little better informed before jumping into this DIY project. The interior was original, and filthy. Fine. We planned on taking it out anyway. After bringing it home, a rainstorm showed us how much the roof leaked. Most of the woodwork was water damaged.

Luckily, inspiration provides superhuman motivation for our Senior Project Manager, despite uncomfortable heat and all of the setbacks of discovering what this camper actually needs.


By the way, you can find vintage campers that have already had the demolition done and now the owner is sick of the project and ready to sell it... if you want to take it on.

The demolition begins like this.

Ceiling panels
Window coverings
 Mattress and cabinets
Dresser covering rear door
Refrigerator and cabinets
Starting to pile up

And pile up...
\ 

For a true vintage redo, some people opt to restore the interior, but everything was in such bad condition, it would have been nearly impossible. We even checked out the turquoise stove but all of the propane lines and other parts have deteriorated to the point you'd have to rebuild the whole unit.

DH made all this progress in just a week. Removed ceiling, interior fixtures, flooring, and some wall panels.


More water damage in the rear floor under the bathroom area.

Next, he started stripping the roof. Most forums recommend simply adding a new layer of roofing material. This is due to the difficulty of removing old layers. There were at least five layers on this trailer, and they were cracked and brittle. The old vents needed replacement and resealing as well. The roof also has dents where the original ribs are missing or damaged and no longer bow out to help water run off. 

I didn't get a before photo. Here's the bare aluminum after.
The front end is stripped to bare metal.
 The loose rivets along the front need to be redone.
Here's from the outside

Now all the cracks and seems and holes need patches and the roof needs a coating of sealant. First DH plans to build new ribs for supporting the new vents, then install and seal the vents. Here's a little patch on the side of the trailer. It would be difficult to find aluminum siding to match, so we went with diamond plate. 
The damaged insulation will be replaced with new. Here is a view with of the ceiling.

After two trailers full of materials to the dump, our demolition is complete. Be sure to check back as I'll be posting our design ideas and progress. It doesn't look like much yet, but some day...