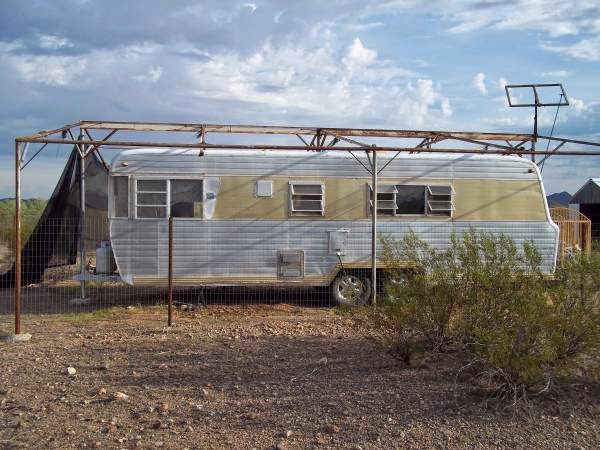

We bought it.


Ahhh, imagination...
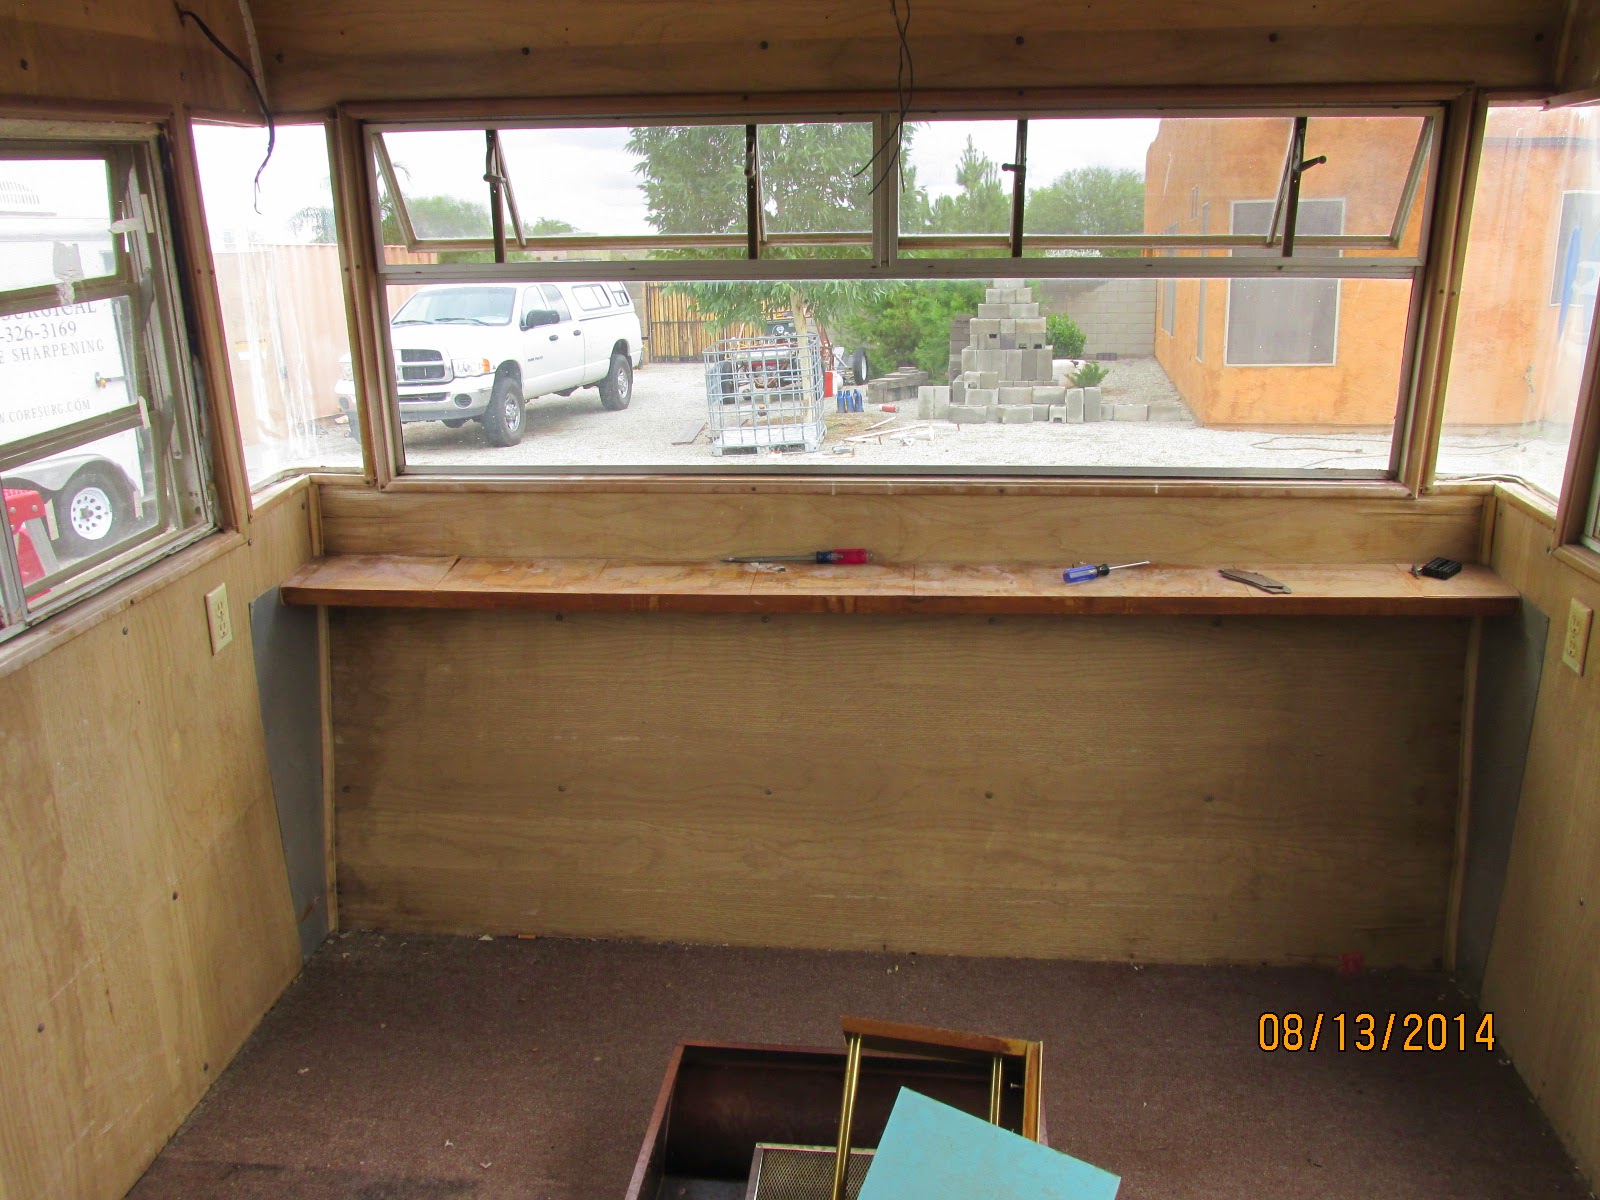
The inside looked like this.


Maybe we should have been a little better informed before jumping into this DIY project. The interior was original, and filthy. Fine. We planned on taking it out anyway. After bringing it home, a rainstorm showed us how much the roof leaked. Most of the woodwork was water damaged.
Luckily, inspiration provides superhuman motivation for our Senior Project Manager, despite uncomfortable heat and all of the setbacks of discovering what this camper actually needs.
By the way, you can find vintage campers that have already had the demolition done and now the owner is sick of the project and ready to sell it... if you want to take it on.
The demolition begins like this.
Ceiling panels

Window coverings
Mattress and cabinets

Dresser covering rear door

Refrigerator and cabinets

Starting to pile up

And pile up...
 \
\
For a true vintage redo, some people opt to restore the interior, but everything was in such bad condition, it would have been nearly impossible. We even checked out the turquoise stove but all of the propane lines and other parts have deteriorated to the point you'd have to rebuild the whole unit.
DH made all this progress in just a week. Removed ceiling, interior fixtures, flooring, and some wall panels.

More water damage in the rear floor under the bathroom area.

Next, he started stripping the roof. Most forums recommend simply adding a new layer of roofing material. This is due to the difficulty of removing old layers. There were at least five layers on this trailer, and they were cracked and brittle. The old vents needed replacement and resealing as well. The roof also has dents where the original ribs are missing or damaged and no longer bow out to help water run off.
I didn't get a before photo. Here's the bare aluminum after.

The front end is stripped to bare metal.

The loose rivets along the front need to be redone.

Here's from the outside

Now all the cracks and seems and holes need patches and the roof needs a coating of sealant. First DH plans to build new ribs for supporting the new vents, then install and seal the vents. Here's a little patch on the side of the trailer. It would be difficult to find aluminum siding to match, so we went with diamond plate.

The damaged insulation will be replaced with new. Here is a view with of the ceiling.

After two trailers full of materials to the dump, our demolition is complete. Be sure to check back as I'll be posting our design ideas and progress. It doesn't look like much yet, but some day...
4 comments:
I am looking forward to hearing and seeing how this goes. Did you think it was worth it to buy and rebuild cost wise? I can't wait to see how it turns out! What a fun (and hard) project.
Hello:
We just bought one that looks identical to your design, with the large bed in back and two exterior doors. I'm looking forward to begin working on it and would like to check in with your progress as I begin mine.
Sam
My trailer is identical floor plan so Im interested in following your progress. I'll start work on it soon.
Thanks and good luck! I need to post an update...
Post a Comment